Send an assessment
To get answers straight from a vendor, you build a questionnaire, assign it to the vendor, and deliver it. The vendor then answers in a dedicated portal, covered on the next page.
Build a questionnaire
Open the Questionnaire Builder. Give the questionnaire a name, then add questions, choosing an answer type (yes/no, multiple choice, free text, and so on) and any options. You can also reuse questions from your question bank, which searches the questionnaires you've built before, so you're not rewriting the same controls each time. Click Create questionnaire and it's ready to assign.
Assign it to a vendor
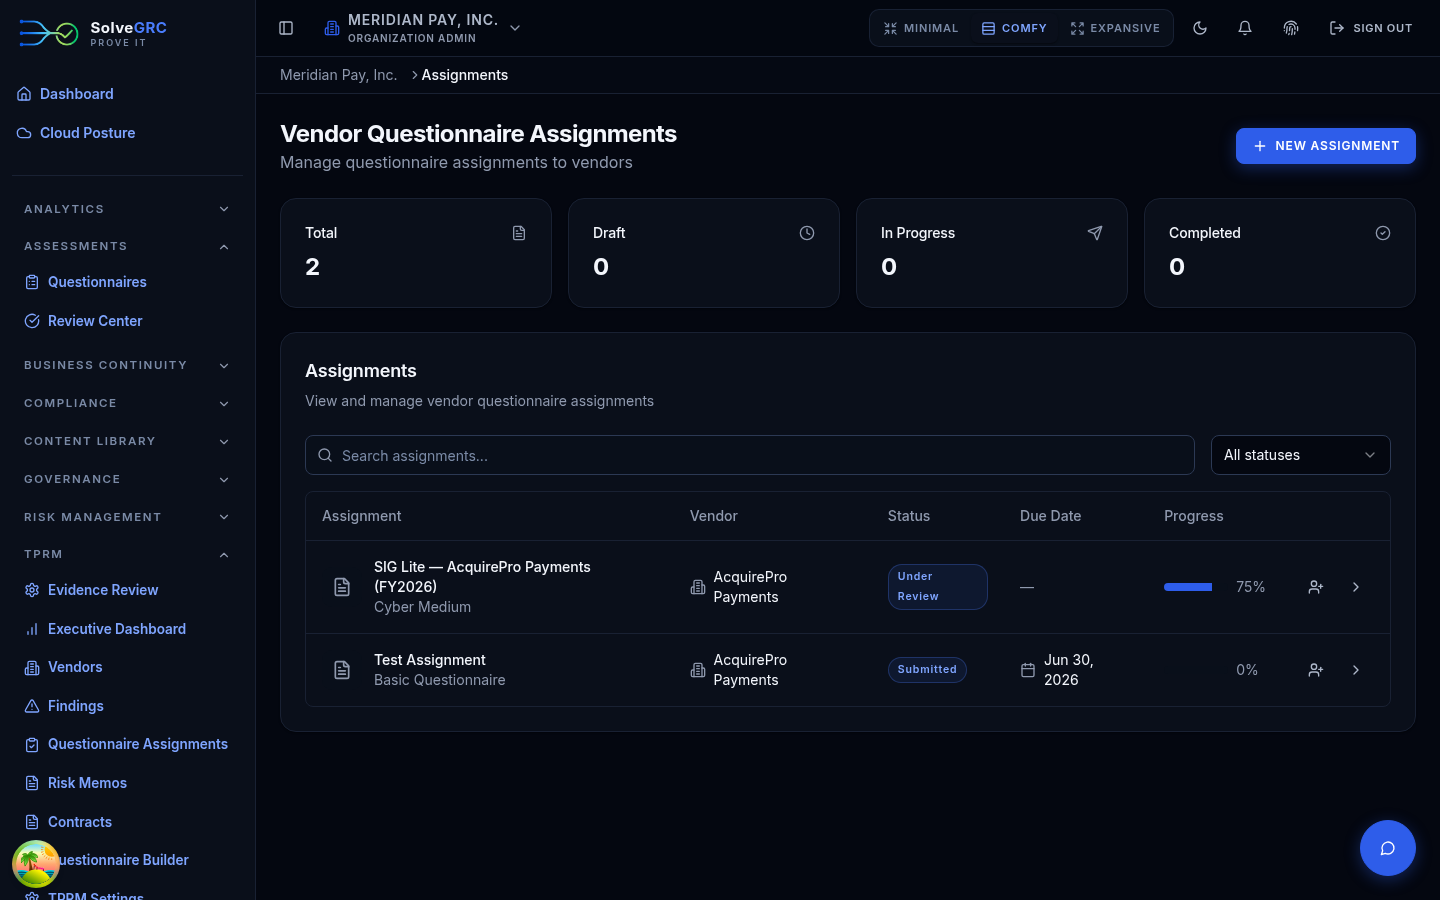
Open Assignments and click New assignment. In the Issue Questionnaire dialog, pick the vendor and the questionnaire, give the assignment a title, and optionally add a description, instructions, and a due date.
Deliver it to the vendor
There are two ways to get the assignment in front of the vendor, and it's worth knowing the difference:
- Send to vendor immediately (a checkbox in the assignment dialog) notifies any vendor contacts who already have a portal account. If none do, it falls back to sending a fresh account-setup invitation.
- Invite vendor (the button on an assignment row) always sends an account-setup invitation to the email you enter.
Either way, the vendor receives an email with a secure link. If the email can't be delivered, SolveGRC gives you the one-time link to share manually.
The "Send immediately" checkbox works from a fresh (draft) assignment. To send an existing assignment again, use the Invite button, which has a short cooldown between re-sends.
Track the assignment
Open an assignment to watch its progress. The Assignment Detail page shows the vendor, due date, completion, and review status, with tabs for the responses, details, and any findings. Preview as vendor opens a read-only view of exactly what the vendor sees. As the vendor works, the assignment moves from sent to in progress to submitted.
Next, see it from the other side. Continue to The vendor portal.